For who:
|
- Metal workers to smooth out irregularities. Polishing
- For sculptors to do the finer work, more precise work than with an angle grinder or bench grinder.
|
Makes available:
|
Metabo, Makita, de Walt and others |
Speed:
|
Variable: 2000 – 7000, 7000 – 25000
Constant. 10.000 0r 25.000.
(All approximate numbers) |
Power:
|
in amps. 5 – 13 |
Weight:
|
4 – 5.5lbs. |
Length:
|
up to 13 inches |
Suppliers:
|
Many (See NWSSA List) |
What “bits” to use:
|
Adaptor for 5/8” |
Price:
|
|
Ease of use:
|
|
|
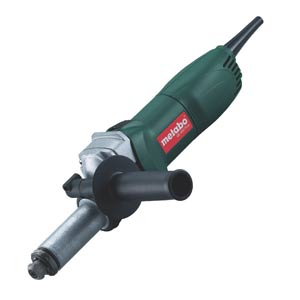 The Die Grinder The Die Grinder
This is a handheld power tool used to grind material off usually die’s which are part of the manufacturing process of e.g. car fenders, coins or blister packs. The use of grinders by stone sculptors is not well known. They are used to smooth edges and surfaces in industry. In stone sculpting there are many other applications depending on burs, sculpting tools or points, wheels or drill bitts. Confused? I still am. My suggestions is to get two or three catalogues from suppliers who cater to us such as Trow and Holden, “A Cut Above”, Pothier and Neolithic in Vancouver, Braxton-Bragg in Nashville. The terminology may become clearer.
Trade names of die grinders are Makita, de Walt, Metabo, Bosch, Dremmel, and Foredom, etc.
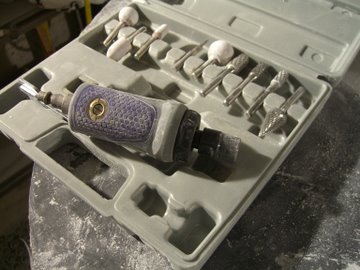
Sizes
Vary from an 18 oz. 1.6 amps. Dremel, (5000 to 35000rpm) to a Makita GD 0600. 3.5 lbs., 3.5. amps. or a Metabo 900 plus 3" with a weight of 5.3 lbs. and 7.5 amp., 2500 to 6000 rpm and others up to 15 amps. and/or 27000 rpm. There are numerous models for numerous prices. One needs to make up one's own mind after research what to go after.
Following is information I acquired during the decision making process to get one making ample use of advice received on the listserve of the NWSSA.
What sculpting does one want to do?
The die-grinder will assist in the finer work and smaller spaces such as "cavities" and holes. The collet is only ¼" so no large burrs, discs or points can be used. " Cut Above" sells and adaptor that goes from a ¼" shaft to a 5/8" screw that will take anything that goes on the angle grinder. I think it would be wise to put nothing bigger in this than with a diameter of 2" as balance may be lost especially at higher speeds.(10000 plus).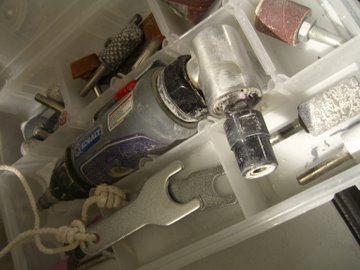
How large a stone you are working on?
The smaller the stone the finer the work, the bigger the stone the larger the tools can be. I am a under hundred pounds guy, the stone that is. If you are working on a 500 lbs stone then it becomes a different issue. Two factors are involved here. One, the amount of stone that might have to be removed and the "fine-ness of finish you want to get. The die grinder is more for the end-stage work and for the creation of crevasses and holes.
Hardness of the stone.
Soapstone goes very quickly, granite is another mater. I have no experience beyond marble but on the list serve there are comments helpful in that respect.
Consequently opinions vary regarding speed or R.P.M. See list serve comments. I went for 2000 to 8000 RPM. For me that is plenty since I do not go beyond marble or similar hardness. I can well imagine that those who work on granite need a faster machine to get anywhere.
My Choices
The internet has been very useful to me getting questions around this subject but the list serve of the NWSSA was and is very usefull.
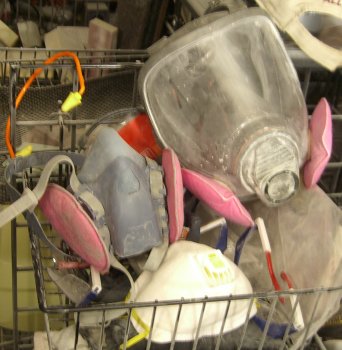
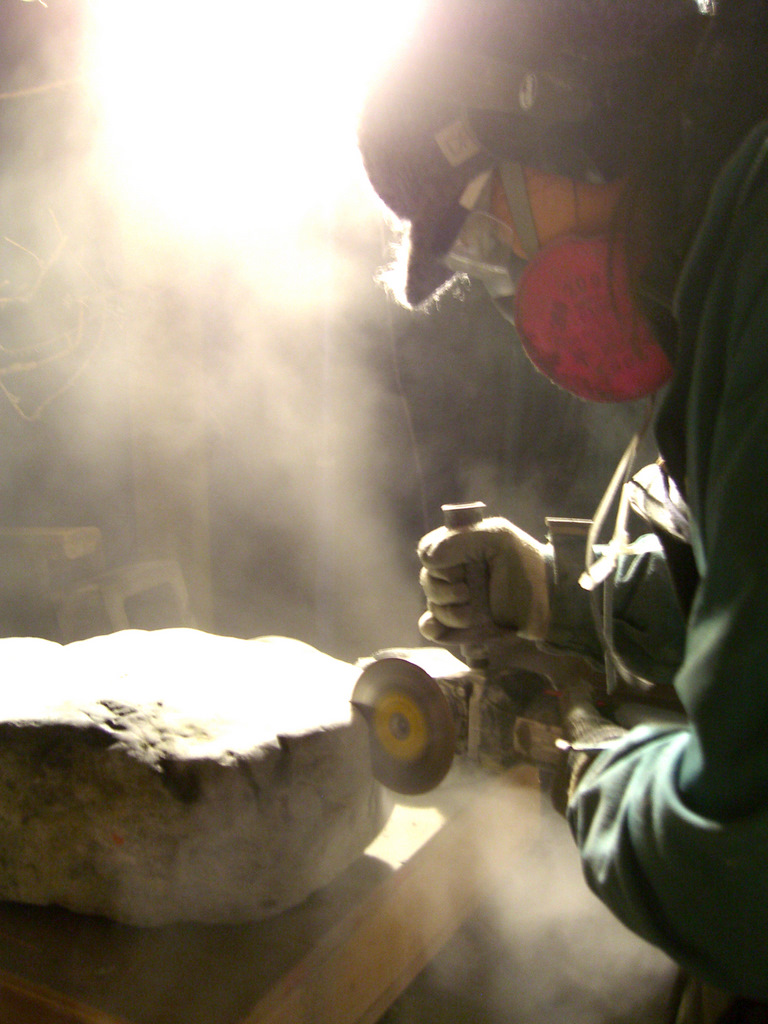
To close I bought a metabo 900 plus 3. It is long, relatively heavy but works perfectly. Especially it does not slow down when you put a lot of pressure on the point when grinding. Also at these speeds relatively little dust is created so the athmosphere remains bearable. I do always use a facemask and filters. I have drilled holes with it and again lots of power. I have used silicone-carbide stones with success on the adaptor. In general, I am happy.
A Final Remark.
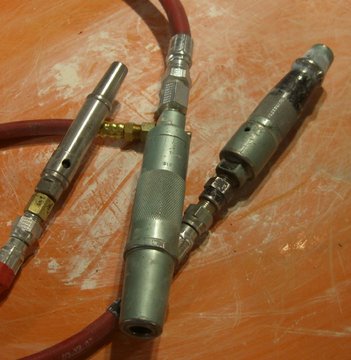
Water can be used with electric tools but do it carefully and don't tell the inspector. Those who use "airpower" having big compressors can use air tools. The tools are cheaper but the compressors are expensive (7 HP and up) and are grossly inefficient energy wise.
|

 by Michael Binkley
 The Wet Carving Box
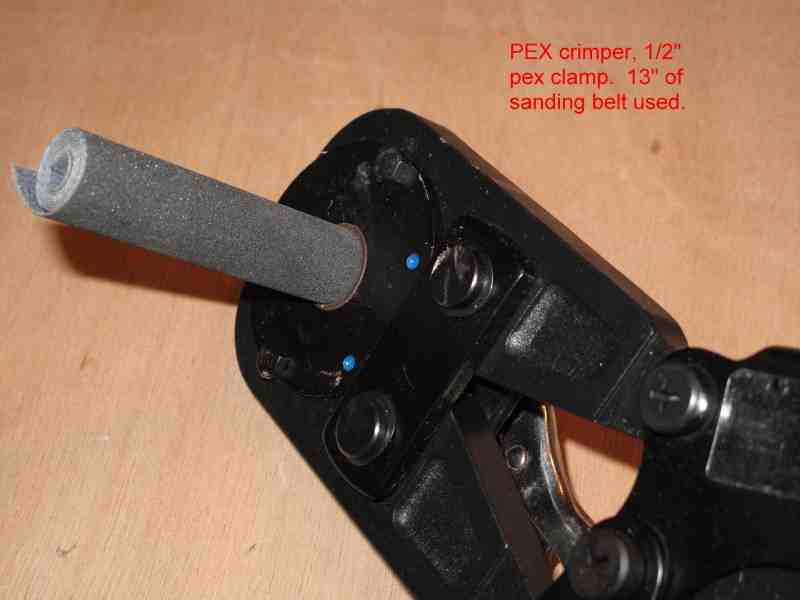
 The difference this time was that a salesman from a custom hearing protection company was there. He asked for a few volunteers to come forward and demonstrate how they install foam ear plugs. He was lucky and got a volunteer, Bret. Bret rolled his ear plugs and stuffed them in his ears as all of us had done in the past. The salesman showed that much of the ear plug was not in the ear and the the protection was poor at best. He then showed us how to properly install ear plugs.
 Part of this material I used in the 20 hour granite course I taught at Pratt. Most of the info is from Tom Urban's workshop at Camp Brotherhod, some from a workshop by Don Ramey that Hank Nelson organized at my place years ago. If you find anything useful, please add it to the article - Kirk
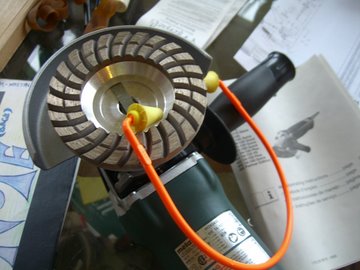
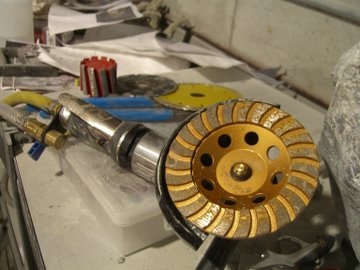
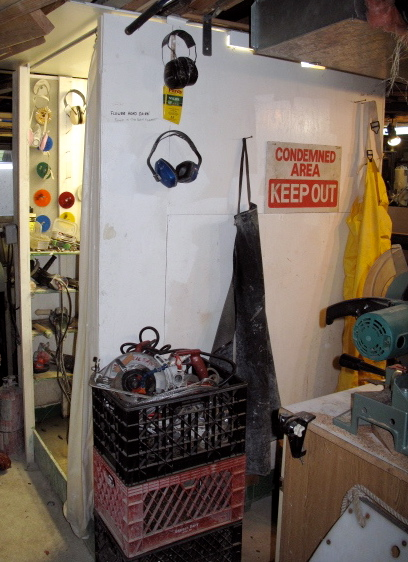
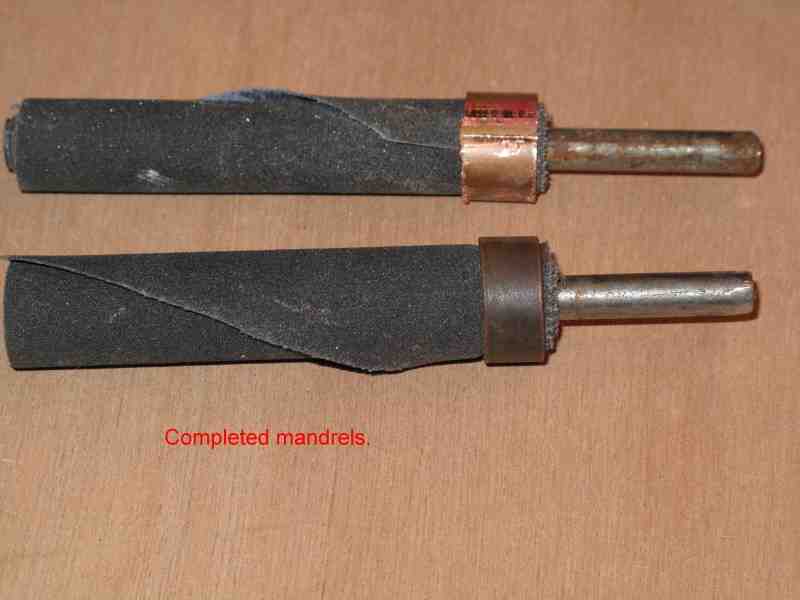
 The photo on the right is of (what I think is) a homemade set-up - aquired it at an estate sale in 2005.
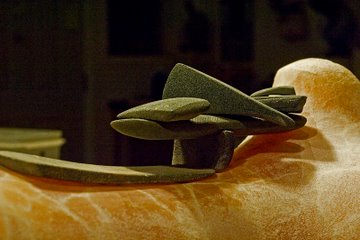 followed up to what I saw Lee Gass doing. He was "sanding" with a piece of a bench grinder wheel. I have a few spares so I smashed one with a sledge hammer and ended up with a whole bunch of useful hand-sanders. Curves, angles. Plus I shaped them further on my angle grinder clamped to my table. They worked better with water.... HAPPY NEW YEAR. -- Dirk